To understand what the depth of field preview button does on your camera you must first understand what depth of field is. In photography, depth of field refers to the range of focus from objects closest to the camera to objects furthest from the camera. In other words, what's blurry and what isn't blurry. Depth of field can be controlled by the aperture inside your camera lens. As you close down your aperture, you will gain more depth of field.
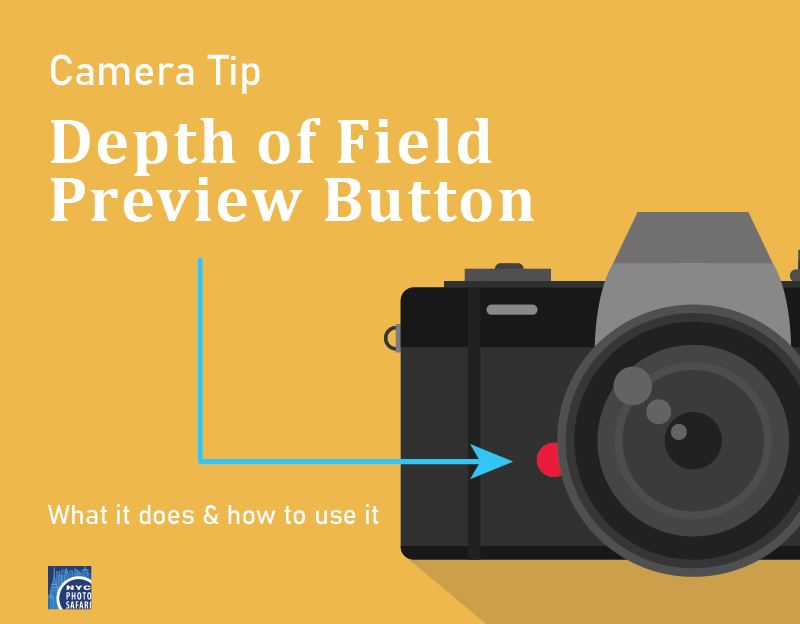
On most DSLR cameras, you will find a small button on the body of the camera next to the lens (not the lens release button). If you look through your view finder and depress this button at the same time, you will be able to see how much depth of field you have achieved based on your aperture settings. If you have your aperture set anywhere except for wide open, you will notice that the view finder gets darker. This is what causes the confusion among photographers.
To understand what is happening we have to take a step back and explain a few things about exposure and about how human optics work. As we view things in light and dark places, our pupils are constantly dilating to adapt to the changing light unless we are in extremely dark or bright places, in which case our eyes have a much more difficult time adjusting. In other words, our eyes have a limit as does our camera equipment.
Unlike our eyes, our cameras only make the adjustment when we press the button.
How does all this relate to the depth of field preview button? When you press the button you will notice that not only will you be able to check your depth of field, but your view through the view finder is darker. Why is this and what's going on? When you look through your view finder without the button depressed, you are looking at the world without any aperture. In other words, you are simply looking straight through a piece of glass with the aperture wide open. When you press the button, it will close down the aperture to where you have it set so you can see what the depth of field looks like. It does not take exposure into account. It is only mechanically closing or opening the aperture. You will only be able to see your actual exposure after you take the picture and have accounted for shutter speed and ISO combination. In other words, pressing your depth of field preview button is somewhat akin to squinting your eyes.
Let's put it in practice. Take an orange and place it on a table about 3 feet (1 meter) from your camera and focus on it. Place another object about 3 feet further from the orange. Put your camera on Aperture Priority (A or Av) and put your aperture to f/5.6. Press the depth of field preview button and look through your view finder. You may or may not see a change. Go ahead and take the photo (press your shutter button fully). Now set your aperture to f/16 and press the button again. Here you will notice that the scene got darker. If you look closely you will be able to see that the amount of focus from one orange to the other has increased. In other words the orange in the back is more in focus. Now press the shutter button and take the photo. If you compare the two images you will notice that the depth of field has changed.
That's it. This is your depth of field preview button.
Let's take the sunny sixteen rule, which states that at a static ISO of 100, you will be able to take a picture at f/16 with a shutter speed of 1/125 of a second in the middle of the day (basically). So if you change your f/stop to f/22 and you change your shutter speed to 1/60 you will get the same exposure, but your depth of field will change.
Safari Gift Certificates